Wednesday, March 31, 2010

Tuna Cakes- Jaime Olivers Food Revloution

So Sara inspired me to really get our family eating better... I have wanted to get more veggies in our meals for a while and just needed an additional push to get it going. So for our revolution we are going to take it one step at a time. First will be adding more veggies to every meal. Then we will pick an additional goal to get working on... here are a few more that we will add. Drinking more water and less crap, eating less sugary items and more things naturally sweet like fruit, adding more LEAN protein and less carbs etc...

The Best thing is that you can customize and make your OWN revolution... so get on it pick one thing and start today!


Today's recipe looked more healthy at first... maybe the frying killed it in the end... BUT we got our veggies in, and tuna is a great source of protein AND it's cheap!


Tuna Cakes

Photobucket

Ingredients:
2 cans of light tuna in water, drained, flaked
1 pkg. (6oz) stove top stuffing mix for chicken
1 Cup kraft 2% milk shredded cheddar cheese
3/4 Cup Water
1 Carrot, shredded
1/3 Cup Miracle Whip Dressing
2 TBS Sweet Pickle Relish

Mix all ingredients.

Photobucket

Refridgerate 10min. Heath large nonstick skillet sprayed with cooking spray on medium heat. Add 1/4 Cup portions of tuna mixture, in batches to skillet.

Flatten into patties with back of spatula. Cook 3 min. on each side or until golden brown.

We served this will a side of cottage cheese, warm CORN and a side salad... (see adding more veggies)
Hubs gave it a 1 spoon he hated it, I gave it 5 spoons, I wanted to eat the whole set myself... The sweetness of the carrots and the relish were delicious, and I will be making it again... maybe along side Salmon patties since Hubs likes those.


Tuesday, March 30, 2010

Pasta e Fagioli (Pasta with Beans)

Jamie Oliver's new show inspired my family before it even debuted.

We as a family have started eating out less, taking lunches to school, drinking white milk after learning that chocolate has 22 grams of sugar (the little carton at school) and we have started seeds of change in our home by planting seeds for a vegetable garden. We would like to grow at least 50% of the veggies that we are eating.

One of the goals that I would like to achieve with the girls at From Blah to Ta-daa - is to serve my family at least 4 meatless dishes a month.

I thought that this recipe would be hearty enough that we wouldn't miss out or be left wanting more...

I have included a few tips that help me in the kitchen - hope they help you too!


I present the Rock Family's First Meatless Meal


Pasta e Fagioli
I first saw this recipe as a link on twitter from @LoveMyPhilly - you can find this recipe and more at lovemyphilly.com!!


Ingredients

1 jar (26 oz.) spaghetti sauce
2 cups water
4 large cloves garlic, minced
4 cups broad egg noodles, uncooked
1/2 cup (1/2 of 8-oz. tub) PHILADELPHIA Cream Cheese Spread
1 pkg. (6 oz.) baby spinach leaves
1 can (15 oz.) cannellini beans, rinsed
3 Tbsp. chopped fresh basil
1 cup KRAFT Finely Shredded Italian* Five Cheese Blend
3 Tbsp. KRAFT Grated Parmesan Cheese


Tip # 1

To take the skin off garlic for mincing:

I take the flat side of my knife and lay it on garlic that is stable on cutting board...then using my fist one pound or two breaks the garlic enough that I just pull it out of the outer skin.

Thanks Rachael Ray!!

PhotobucketPhotobucket


Instructions

BRING spaghetti sauce, water and garlic to boil in large skillet. Stir in noodles; cover.


Tip # 2 - I put the 2 cups of water into the spaghetti sauce jar - a little shake and no sauce wasted.


PhotobucketPhotobucket


COOK on medium-low heat 10 to 12 min. or until noodles are tender, stirring occasionally. Add cream cheese spread; cook until melted, stirring frequently.

I only had block cream cheese...so I cut it into small cubes before adding to the sauce.
It melted just fine.

PhotobucketPhotobucket

STIR in spinach, beans and basil; cover. Cook 5 min. or until heated through, stirring occasionally.

I kept thinking that this was too much spinach - but it wilts down to just the right amount!!

PhotobucketPhotobucket

PhotobucketPhotobucket

Top with remaining cheeses; cook, covered, 3 to 5 min. or until cheeses are melted.

PhotobucketPhotobucketPhotobucketPhotobucket


Everyone in my family really (really) enjoyed every last morsel of this dish!! This is for sure going to become part of my monthly meal plan. I love that my kids were eating so much spinach and beans...they didn't even notice that there was no meat included!


Success!!


Photobucket

This recipe definitely gets 5 spoons!!

Mellisa

Monday, March 29, 2010

Peanut Butter Balls

I watched Jamie Oliver's show last weekend, and it has me thinking. I want to help our boys make some healthier snacking choices. Things they can pack in their lunchboxes. We homeschool our boys so I feed them lunch at home, obviously. Our evenings are becoming busier though as the weather grows warmer with play and baseball practices and church activities. So I know I'll be trying to pack 2 or 3 suppers for them on the fly and I'll be trying to avoidi picking up hot dogs and chips at the local convenience store. That's our goal this Spring. To pack healthy and nutritious dinners on the busy nights. They like to have a "treat" for desert after their dinners. Here's a healthy alternative to typical cookie and brownie snack desserts that they can help make and pack in their lunchboxes.

Peanut Butter Balls


peanut butter balls

Here's the line up:

1/2 Cup all natural peanut butter
2 Tablespoons raisins
2 Tablespoons honey
1/4 cup unsweetened coconut
Sesame Seeds

peanut butter balls

1.) Mix the first 4 ingredients in a bowl until well combined.
2.) Form into balls. I find this step is made easier with the use of a small cookie dough scoop.
3.) Roll in sesame seeds to coat.

peanut butter balls

4.) Store in a covered container in the refridgerator. This will keep them firm and fresh.

Your children can be very creative with their inventive suggestions. Try asking them what dried fruit they would like to include. Cranberries, blueberries, apricots, dates? They'll come up with suggestions for ingredients to coat them in as well. As you see in the picture 1/2 were rolled sesame seeds like the original recipe called for and 1/2 were rolled in finely chopped peanuts per Seth's request. Sawyer wants to try granola next time.

In our home these have a definate 5 spoon rating!

Blessings,


Sunday, March 28, 2010

Seeds of Change: A Food Revolution

Did any of you catch the first episode of Jamie Oliver's new ABC show last Friday? Jamie is on a mission to create a food revolution in America. And he's starting one city at a time. He's fresh off the success of having caused a complete overhaul of the British school lunch system, and he's determined to cause the same kind of change here in America.

I first got inspired by his cause with his recent TED Talk:

I can't help but be inspired to change my eating habits after watching that clip. And by "habits," I do mean habits. Over the past few years, I've got into the habit of eating out a lot. I've been eating my lunch out every day, breakfasts are often on the way to work, and dinners are about half out and half in. And to me, that's a whole lot of wasted opportunity for good nutrition. So, I've given myself some new goals and new rules when it comes to what I eat.

And I was so inspired by this food revolution, that I immediately sent the video clips to the other Blah To Ta-Daa ladies. We've decided that we'll all start by doing something little to establish better food habits for ourselves. So, this week's Blah To Ta-Daa posts will all be focused on our own personal food revolution goals and will include a corresponding recipe.

We hope you'll be as inspired as we are! If you'd like to join us, link up your food revolution blog posts in the MckLinky below!
Smiles,


The trailer for Jamie's new ABC show:


Updated: Since the video above seems to be private - I found this one:

5 Things You Should Know about the Food Revolution!


Saturday, March 27, 2010

Zucchini Pie and Curious Chef Giveaway!

Photobucket
Curious Chef was nice enough to send me a cute pepper cutting board, a veggie peeler and a 3 piece knife set to review. My kids are thrilled to pieces to have knives of their own that they can use! Thank you Curious Chef!

We put these items to use during another Kids in the Kitchen week and the kids all pitched in to help me whip up a yummy quiche for dinner.

Ingredients:
3 cup zucchini, sliced paper thin
1 small onion, chopped
1/2 cup Swiss cheese, cubed
4 eggs
1/2 cup oil
1/2 cup Bisquick mix
1/2 tsp. salt

The Prep:
Photobucket
The kids used their new cooking tools to peel the zucchini, chop the onion and cube the cheese

Photobucket
I sliced the zucchini paper thin

Lets Get Cooking!:

Beat eggs, oil and Bisquick for one minute.
Photobucket

Mix in zucchini, cheese and onion.
Photobucket

Pour into quiche dish or pie plate.
Photobucket

Bake at 350 F for 35 minutes until light brown.
Photobucket

Our ratings:
Baby Girl had as much fun eating it as she did making it and asked if she could rate it a 10. She has asked for this for dinner at least once a week since we first made it.

The hubs and I both gave it 5 spoons rating and it will return to our dinner table!

Your chance to win!
Now it is your chance to win something from Curious Chef for your kitchen! Visit me over at Life in the BAT Cave to enter to win a kitchen timer.


Don't forget to visit each of the other girls here on Blah to Ta-Daa and enter all of their great giveaways too!


Friday, March 26, 2010

Lil Fruit Pies and Curious Chef Giveaway


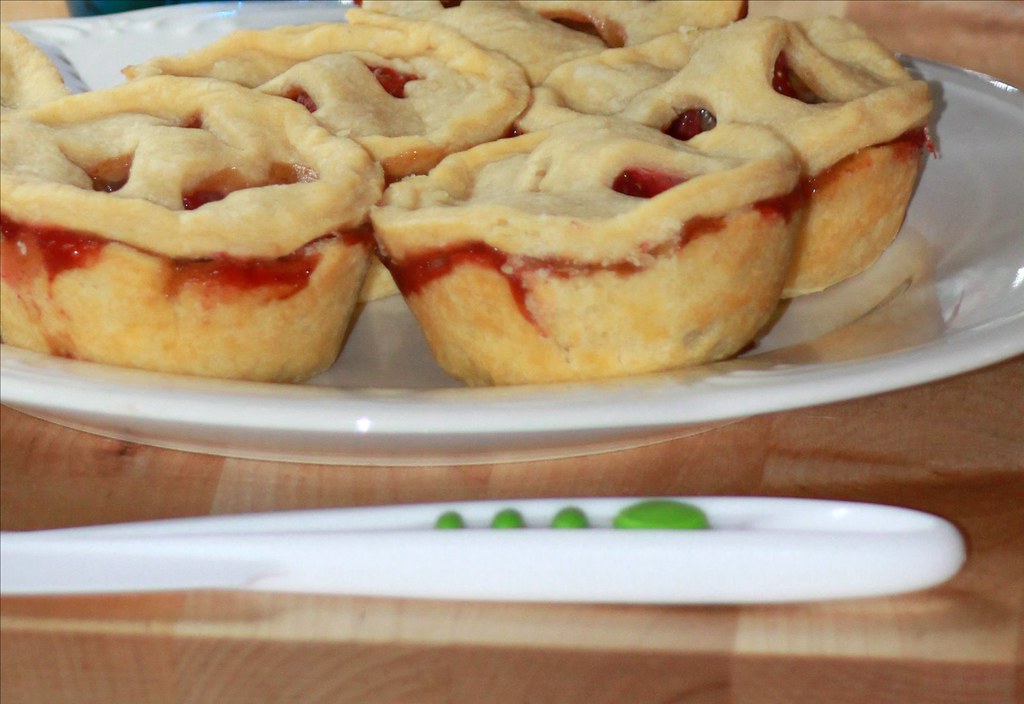
To coordinate with our Curious Chef review and theme week, I decided to invite my borrowed children over for more messy fun.  I decided that it would be fun to make miniature fruit pies, and the girls were really excited about the idea.

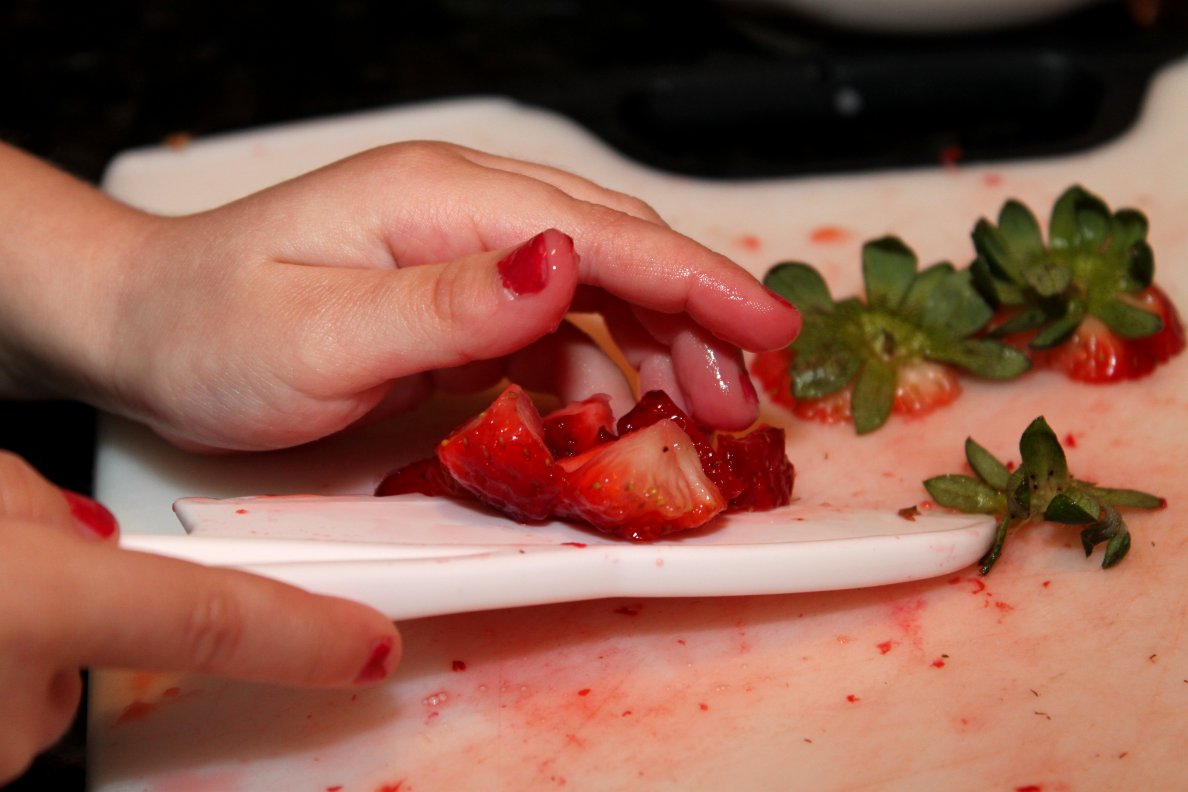
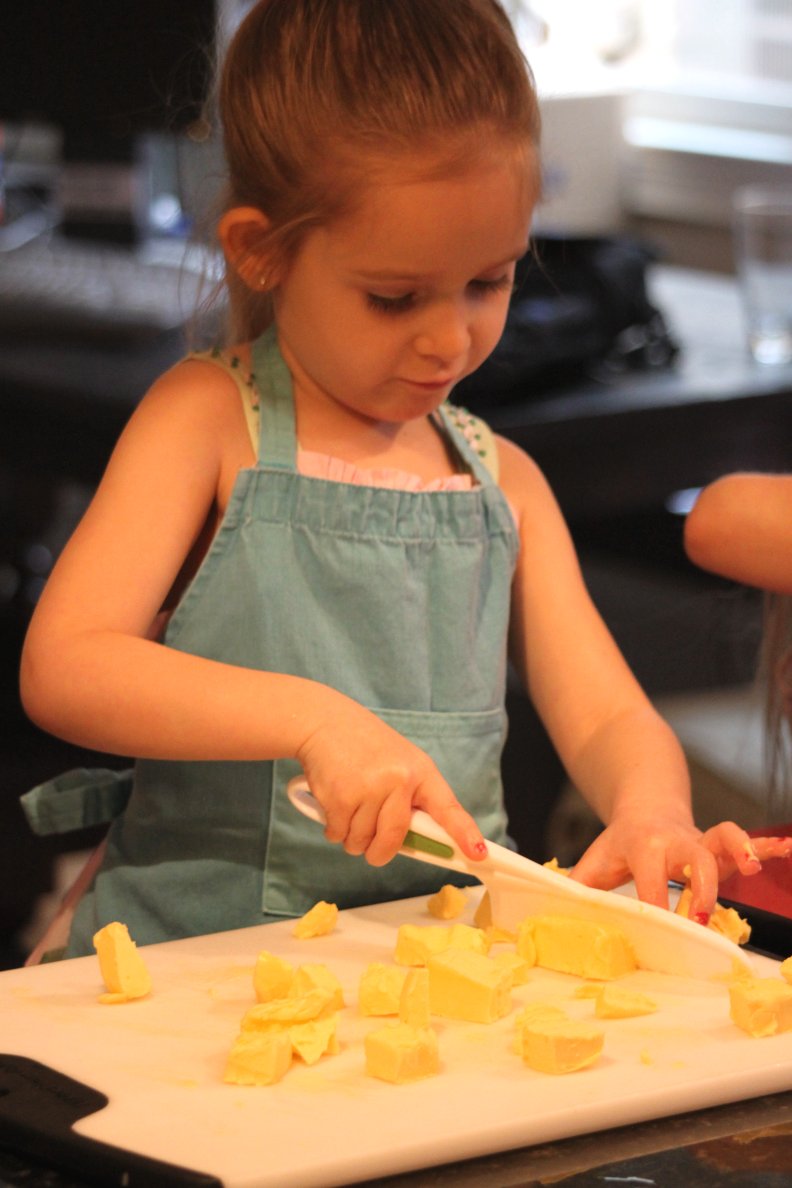
I have to say - they were little pros with the Curious Chef knives.  You wouldn't know that you are looking at the hands of a 5 and 8 year old from the photos!  And because they were plastic and kid-friendly, the girls weren't even scared to start chopping away!

The girls gave the pies a 5 Spoons up, while I gave them a 4.  I'm not terribly fond of peach pie.  Please don't let the state of Georgia kick me out for saying that :)

Enjoy!


My Mom's Pie Crust
makes 4 crusts/2 full pies (so halve or even quarter this one)*
4 heaping c. flour
2 tsp. salt
1 3/4 c. butter flavor Crisco, diced and chilled
1 egg, beaten
ice water added to egg to make 2/3 c.

Combine flour and salt in a large bowl.  Cut shortening into the flour until the mixture resembles coarse meal.  Stir in the egg water mixture until it forms a soft dough.  Do not overwork the dough or it will become tough!  Roll out on floured surface and cut with 4" circles for the bottom crusts, and 3 1/4" circles for the lid crusts.  Cut small shapes out of the lids to vent.  Spray a muffin pan with cooking spray, and place a bottom crust into each hole, pressing the excess crust up the sides.

* Yes, our family is all about pie. It wouldn't be a family gathering without at least 4 different kinds of pie.


Peach and Strawberry Fruit Filling
8 oz fresh strawberries
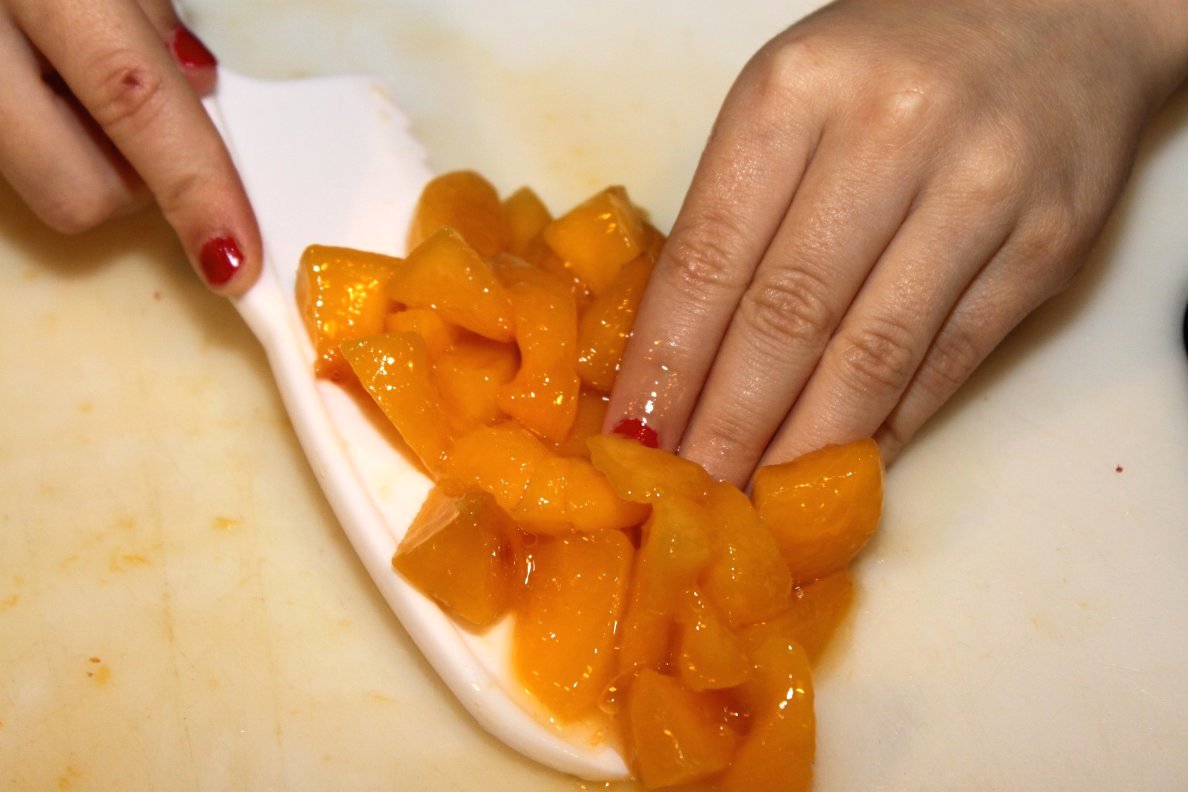
10 oz peaches (we used frozen thawed slices w/ their juice)
1/2 - 1 c. sugar, dependent on how tart your fruit is
1/2 tsp. cinnamon
1 Tbsp. flour

Chop the fruit into 1/2" sized chunks and put into a medium-sized mixing bowl.  Stir in the remaining ingredients.  Spoon into prepared mini-crusts, filling each about 3/4 full.  Place lid crust on each.  Bake at 400 degrees for 10 minutes, then at 350 degrees for 20-30 minutes or until fruit filling is bubbly.  Allow to cool 10 minutes before removing from pan.


The 5 year old chopping pro!


The 8 year old chopping pro!


Naomi dicing the chilled shortening:


Naomi used our Curious Chef rolling pin to make the lid crusts.
She loved that it fit her little hands!


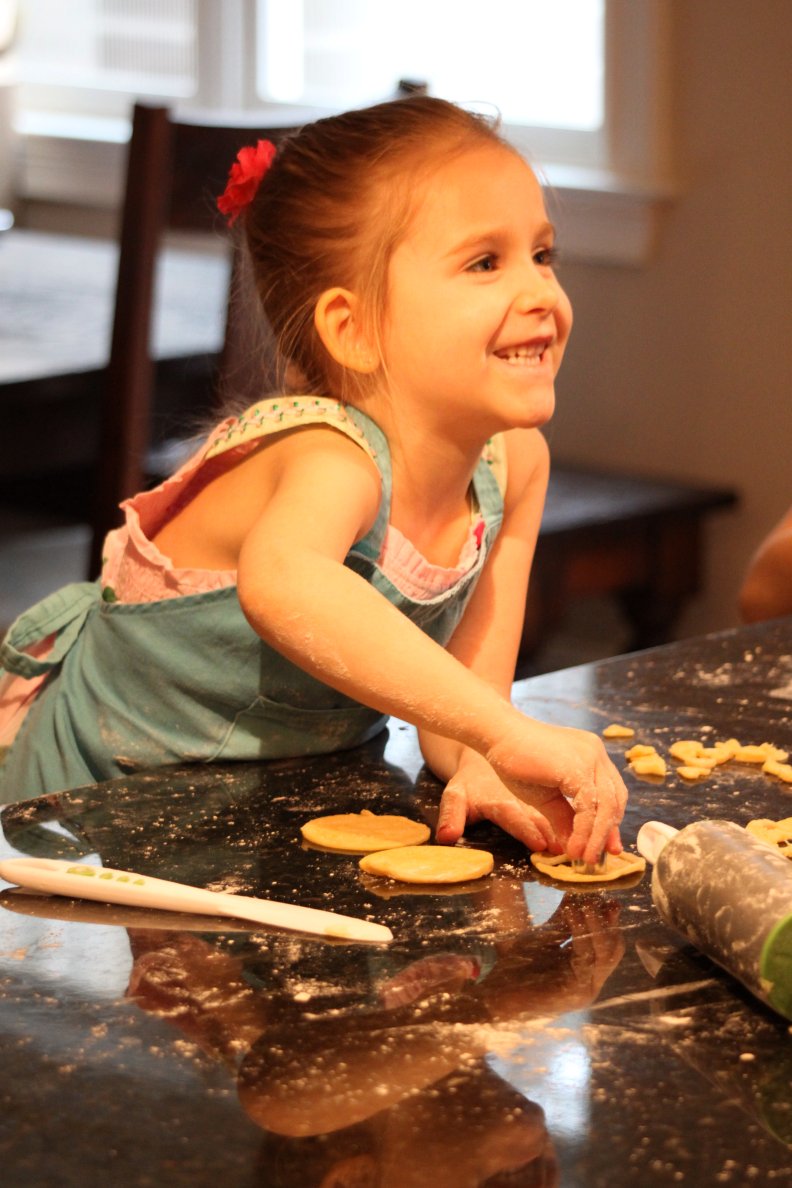
Vienne did an amazing job with the bottom crusts!!


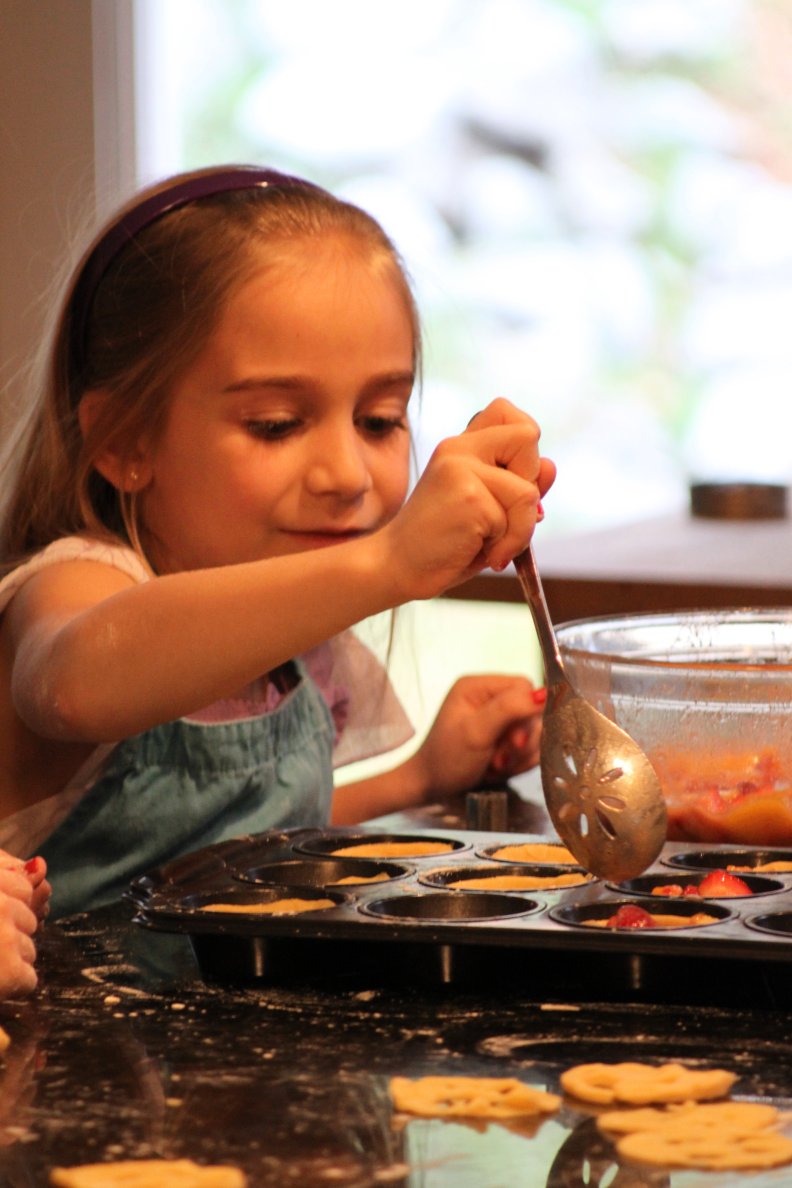
Spooning the filling into the bottom crusts:


Cutting the top crust vents:


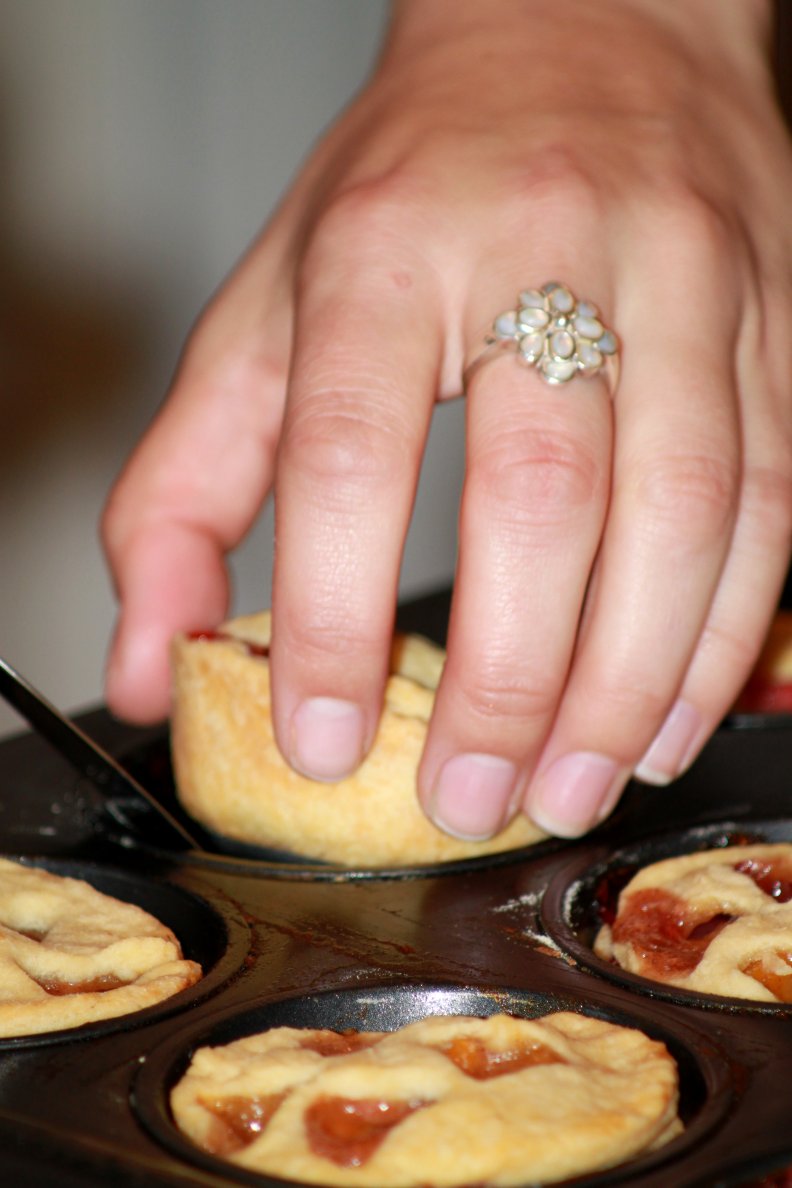
After cooling 10 minutes, they pop right out of the pan:


The girls did such an amazing job!!!

p.s. I'm giving away a set of super-handy Curious Chef Pinch Bowls on my personal blog. Go there to enter!!!

p.p.s.  I've been mulling over doing an entire how-to with pie crust.  Would that be useful??  If you're interested, please let me know!!  I don't want to bombard you with tedious crust-making steps if I'm the only one who's obsessed with pie crust :)

Thursday, March 25, 2010

Homemade Pizzas {Curious Chef Review & Giveaway}

My kids could not wait to get into the kitchen when Curious Chef's 5-Piece Pizza Making Kit arrived! The kit, which retails for $19.99, came complete with kid-friendly utensils {nylon knife, pizza cutter, pizza server and silicone spatula} as well as an adorable cutting board, a shopping list and fun stickers!


We decided to make our pizza from scratch, and we used some dairy & egg-free products due to their food allergies. From start to finish, the kids loved being involved in the process of making their very own pizzas and I was able to relax as they used the safe kid-friendly utensils {by relax, I don't mean napping in another room, I just mean that I didn't have to worry about them hurting themselves with the usual kitchen utensils.} And in the end, the pizzas were delicious for us all to enjoy!

Pizza Sauce:
1/2 C. onion, finely diced
1 (15 oz.) can tomato sauce
1 (15 oz.) can diced tomatoes
2 Tbsp. basil
2 tsp. sugar
2 tsp. oregano
2 tsp. minced garlic
3/4 tsp. pepper

Saute onion in medium saucepan in a dash of olive oil until soft. Add the rest of ingredients to the onions in the saucepan. Bring to a boil. Reduce heat; cover and simmer about 10 minutes.

Pizza Crust:
2 3/4 C flour
1 package dry active yeast
1/4 tsp. salt
1 C warm water
2 Tbsp. vegetable oil
corn meal

In a large bowl, which together 1 1/4 C flour, yeast, and salt. Add warm water and oil. Beat well, scraping bowl constantly. Using a spoon, stir in as much of the remaining flour as you can. In the bowl, knead in enough remaining flour to make moderately stiff dough that is smooth and elastic (knead 6 to 8 minutes total). Cover and let rest for 10 minutes.


Preheat over to 425 degrees. Grease a large baking sheet with cooking spray and sprinkle with corn meal, shaking over the sink or garbage to remove the excess.


On a lightly floured surface, roll dough into a 16-inch circle. Transfer to the baking sheet. Build up the edges slightly, and prick the crust with a fork. Do not let it rise!!! Bake for 12 minutes, or until browned.

Lower the oven temperature to 350 degrees. Spread pizza sauce over the hot crust. Sprinkle any toppings on that you'd like {we did cheese and pepperoni}. Bake 10 to 15 minutes more or until toppings are hot. Then, enjoy!


Now it's your turn to have Curious Chef entertain your kids in your kitchen! Stop by my blog to enter a special giveaway of some adorable Spring Cookie Cutters! We are all about cookie cutters--every day my kids pick different cookie cutters for me to cut their sandwiches with! Be sure to check it out!
Related Posts Plugin for WordPress, Blogger...